I've Perfected My At-Home Manicure Routine for Short Natural Nails—Here's Everything I Use

There’s a whole lot of chatter happening about the “rich bare nails” trend at the moment. Like many beauty trends of the 2020s, it began on TikTok with a handful of creators sharing their naked nails and how they feel so much chicer sans colored polish or pricey in-salon designs. The argument, from a cultural perspective, is that given the prevalence of standing nail appointments, the scarcity mindset that anoints what’s luxurious and what’s not has finally tipped manicured nails into the passé category, while bare or barely there nails are crowned the ultimate luxury. Valid? Ehhhh, it feels like a stretch to me. I love a cat eye manicure with sparkles and squiggles as much as the next girl in my Brooklyn salon. But I’m also in a budget-friendly mindset at the moment, and nixing the $120 I spend every three weeks sounded like a nice idea for the summer. It’s why I’ve finally perfected my at-home manicure routine for short natural nails.
Again, there’s absolutely nothing wrong with sticking to your personal style when it comes to your nails, but for me, after a few years of endless gel manicures, my nails, and my wallet, deserved a break. So now my Sunday nights are spent sitting on the floor in front of my coffee table, carefully buffing, filing, clipping, moisturizing, and generally babying my nails so they look like I came straight from the manicurist chair. Is it time-consuming? Perhaps, but an hour of nail maintenance has become something of a restorative ritual for me, and honestly, I’m thoroughly enjoying both the look of my clean nails and the tactile practice of setting down my phone, queuing up one of my favorite TV shows, and treating myself to an at-home manicure—for free. Here’s everything I use for the perfect at-home bare nail care routine.
Casually Clip
I wore my nails XXL for years, but I’ve finally discovered that I actually like a short nail tip with a rounded square edge. It’s easier to type and breakage is at a minimum. I just clip away the excess at the start of my mani routine.
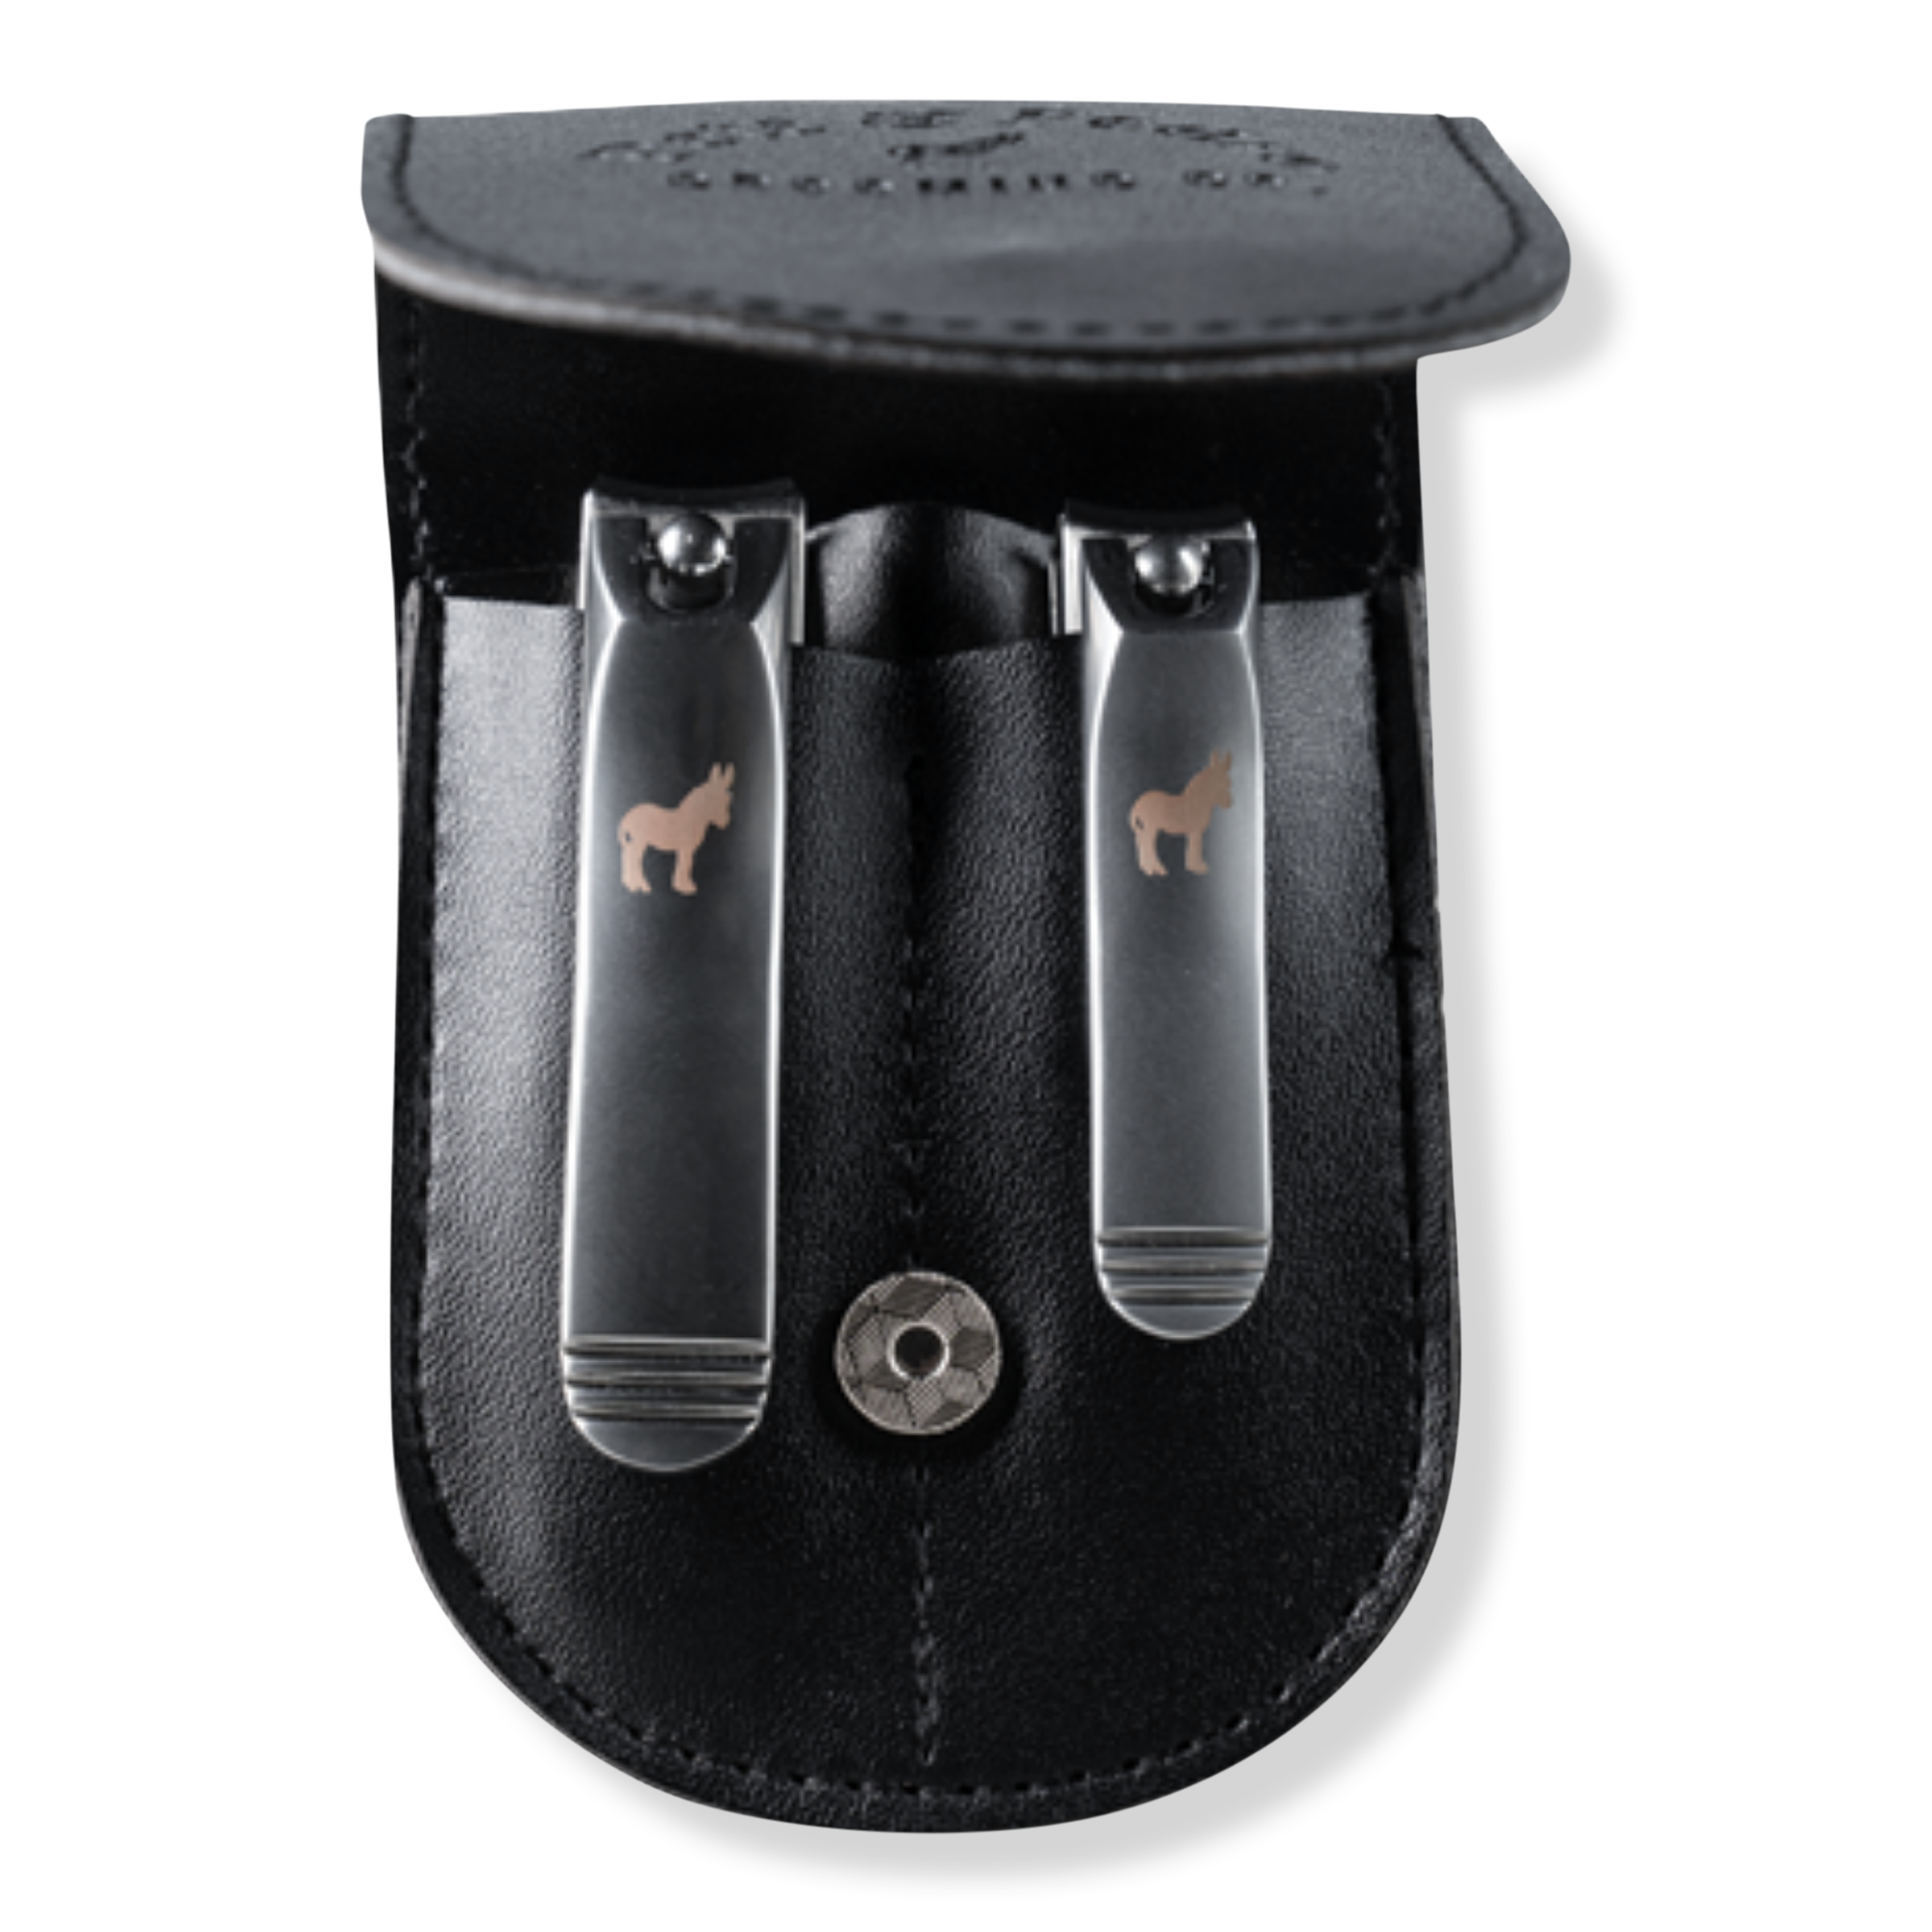
I love a two-for-one deal to keep my fingers and toes in tip-top shape, and the chic leather case provides easy storage.
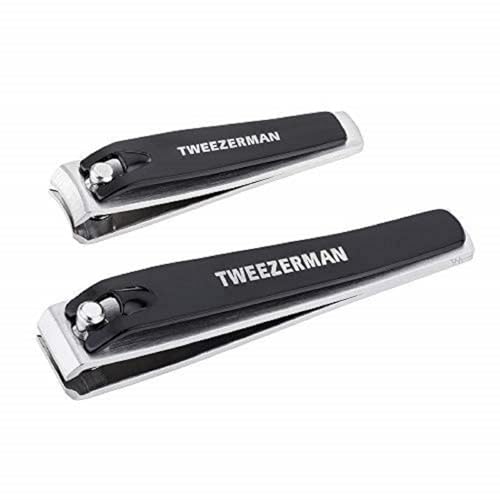
When in doubt I always turn to this brand for quality nail care. I probably have three or four of these floating between travel bags so my nails always look immaculate no matter where I am in the world.
File This Away
Filing my nails is an art, since I’m very picky about the shape. I use a glass file since it’s gentler and more hygienic than your traditional emery board.
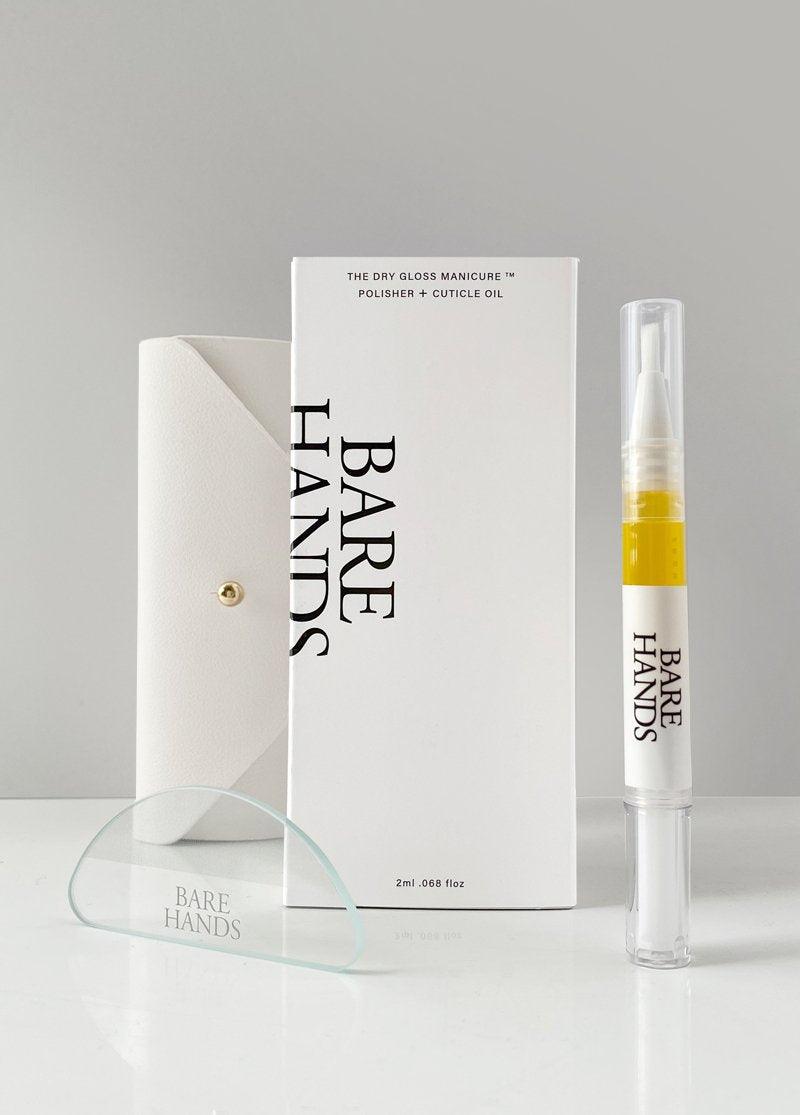
I’ve been obsessed with this manicure kit since it launched a few years ago. It has a crescent-shaped glass nail file that you can also use to give your nail beds a glossy shine, plus cuticle oil to keep dryness at bay.
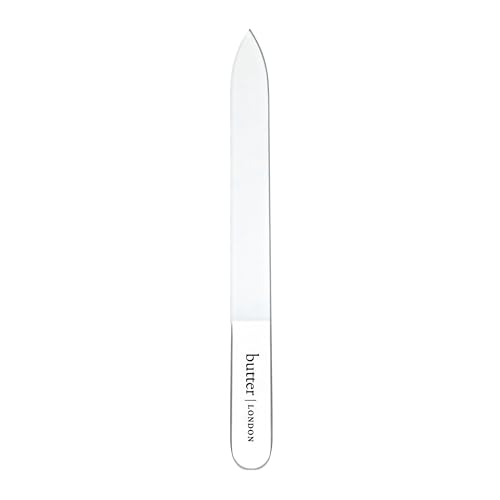
I refresh my glass files once a year and I always turn to this option for the ultra-fine finish. My nails always look immaculate, and it’s easy to use the pointy end to clear up under my nails for a perfectly clean finish.
Careful Cuticle Care
The cuticles are key to an at-home manicure, and I use a two-part system to make sure that mine look flawless.
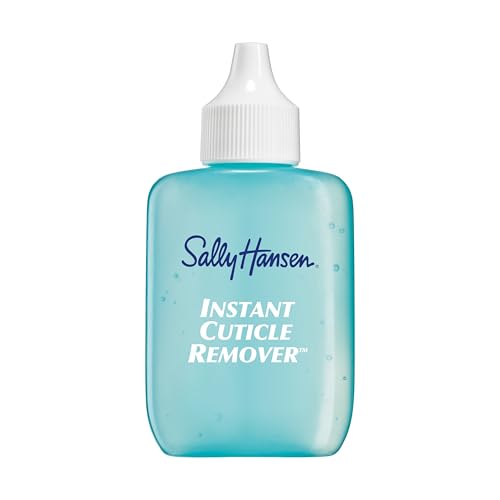
Sure, there are chicer options on the market, but this formula is so affordable and it works after sitting on your cuticles for just 15 seconds. I use a nail pusher to remove any excess cuticle from my nail bed, then wash my hands before going into my second step.
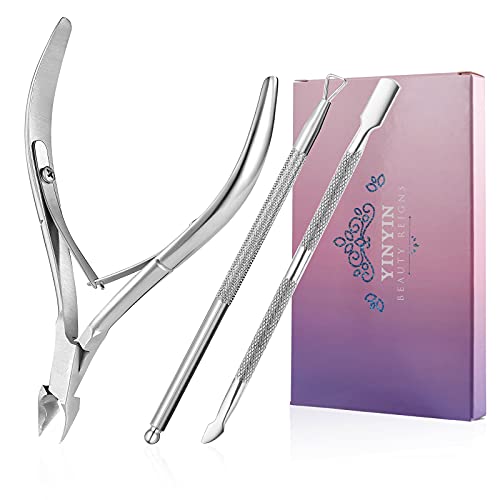
This set has the extra tools I require to really push back all that excess skin, plus the star of the show, the cuticle nipper, to very carefully go around my nail and trim up the perimeter. Go slow and don’t be too aggressive!
Buff, Buff, Moisturize
With minimal polish to disguise imperfections, I make sure to go the extra mile for my nail beds and buff them into a smooth finish, then add an extra layer of moisture to prevent hangnails and minimize breakage.
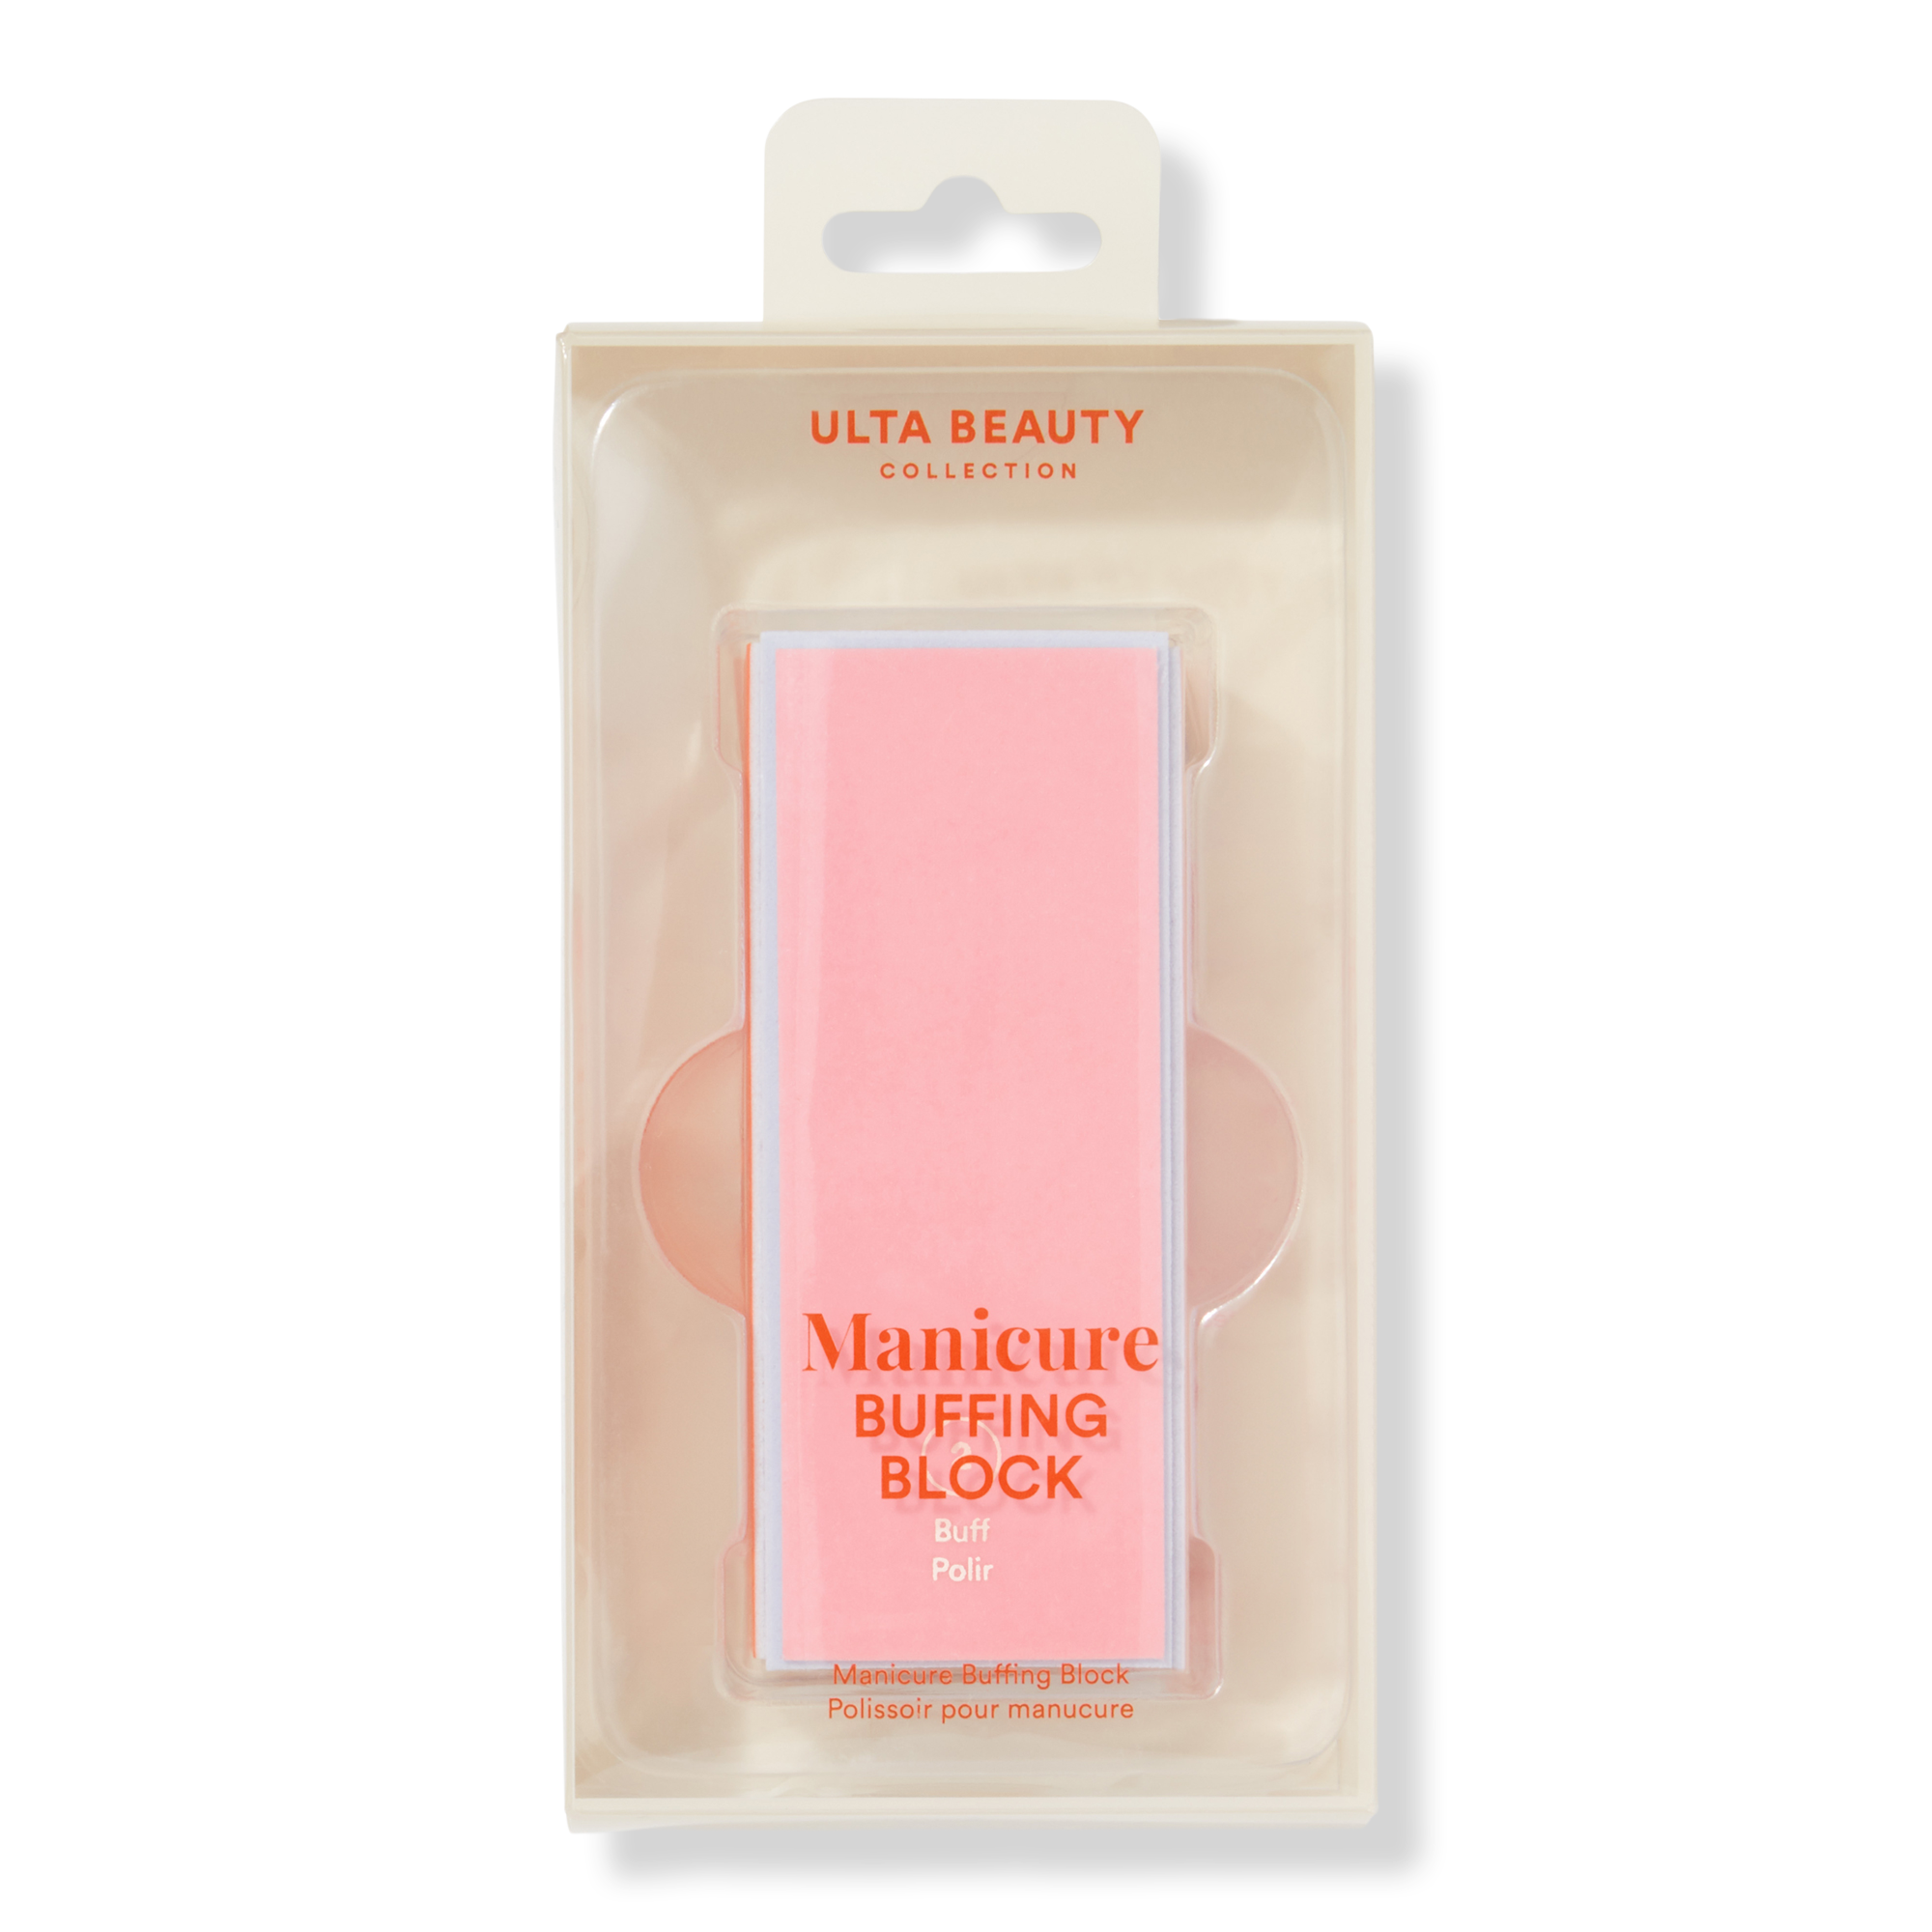
I start with side one to clean up my nail edges and smooth away ridges, then go in with the second side to really smooth out the surface of my nail.
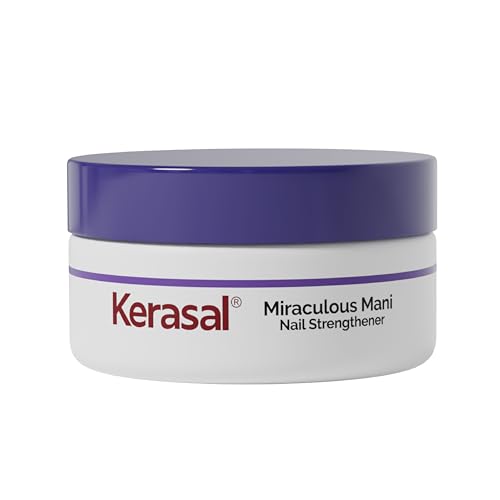
After I’m buffed to perfection, I use a small dab of this cream on each nail and massage it into the bed and cuticles to both strengthen and moisturize. Trust me, you do not want to skip this step!
Barely-There Polish
If you’re really after the naked nails look, you obviously don’t need any polish at all, but I love to reach for either a glossy jelly option or a nude matte to give my manicure a little extra oomph.
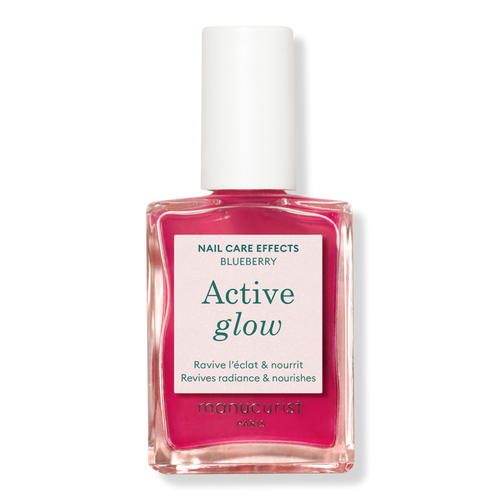
This is my ride-or-die brand for barely-there polish, and this glossy polish is buildable depending on how much pink pigment you want. You don’t even need a base coat with this baby—just add a coat or two and your at-home mani is complete.
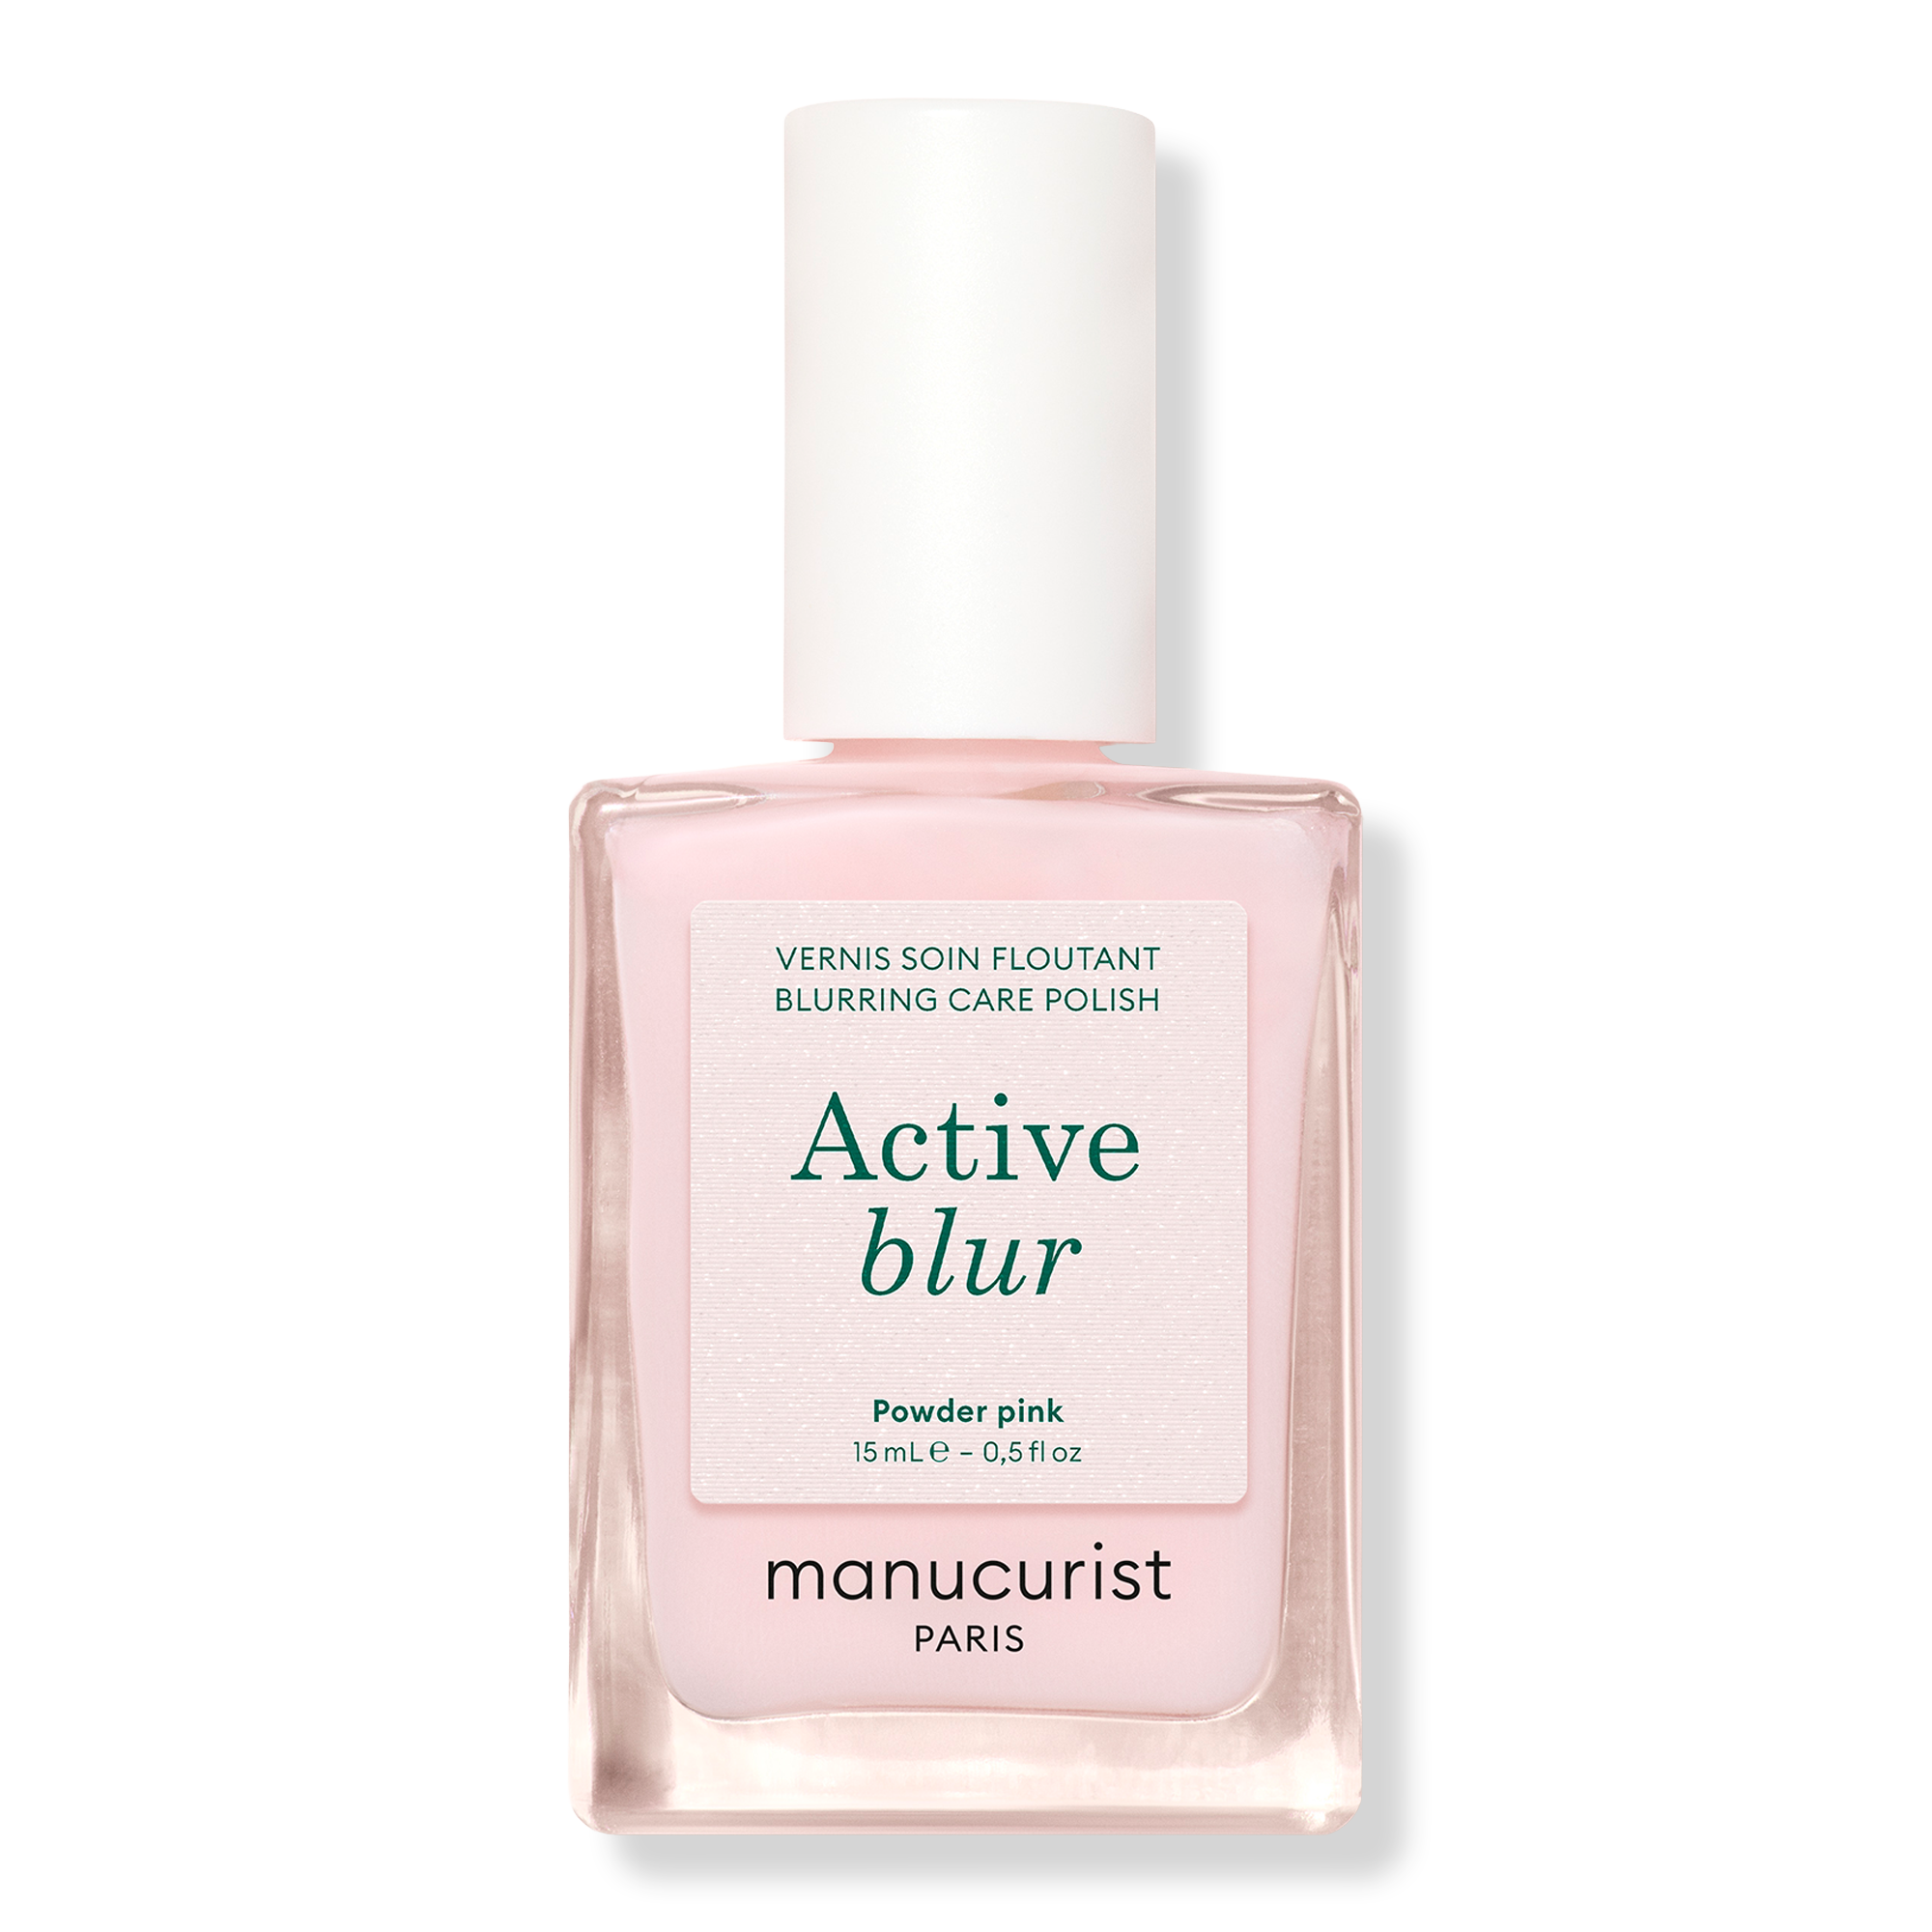
For the perfect soft-focus finish, I’m newly obsessed with this strengthening treatment. It provides the subtlest matte finish for the ultimate clean-girl manicure, plus your nail quality actually improves with each wear.
Why Trust Marie Claire
For more than 30 years, Marie Claire has been an internationally recognized destination for news, fashion, and beauty trends, investigative packages, and more. When it comes to the products Marie Claire recommends, we take your faith in us seriously. Every product that we feature comes personally recommended by a Marie Claire writer or editor, or by an expert we’ve spoken to firsthand.
Don't gatekeep our newsletters from your friends. Subscribe to Face Forward here.
Want to read more?
Check out the full article on the original site